Address
304 North Cardinal St.
Dorchester Center, MA 02124
Work Hours
Monday to Friday: 7AM - 7PM
Weekend: 10AM - 5PM
Learn how to create high-impact visuals with this practical guide to video graphics for beginners, tailored to help you build professional results from day one.
If you’re a solopreneur, freelancer, or small business owner, chances are you’re wearing many hats — including content creator. You’ve probably noticed video content works wonders for visibility, but have you ever stopped to wonder why video graphics matter so much in that equation?
In a fast-scroll world flooded with content, your video needs to visually pop within seconds. Good video graphics can:
Video graphics for beginners often suffer from overcrowded layouts, inconsistent colors, or overused animations. These visual missteps signal amateurism and viewers bail — often before your message even lands.
Keeping graphics on-brand and intentional is more effective than throwing in every available transition or motion. Start by using your brand palette, sticking to two fonts max, and applying clean, purposeful movements. Even title cards and lower-thirds can significantly elevate your video presentation.
Summary: Think of video graphics for beginners not as decoration, but as an amplifier of your voice. When executed correctly, graphics don’t just make your content look good — they make it memorable and persuasive.
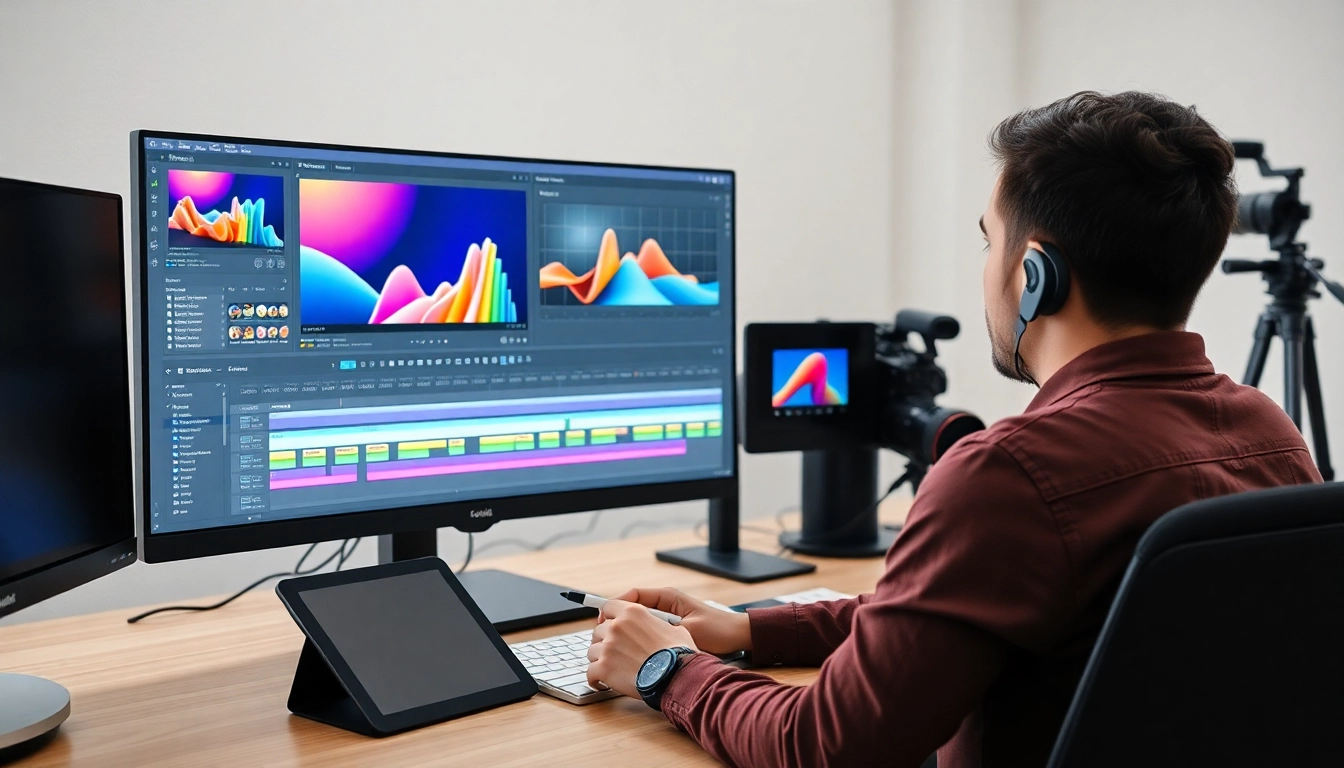
One of the biggest hurdles in video graphics for beginners is choosing the right tool — one that’s easy to use, affordable, but also capable of producing pro-level visual content. Let’s cut through the clutter and explore the best tools tailored to non-designers.
Perfect for: Social media videos, YouTube intros, quick animations.
Why it rocks: Canva’s intuitive drag-and-drop interface is ideal for beginners. It offers professional templates, motion graphics, and brand kits to keep your look consistent. You can animate text, logos, and design overlays without needing animation skills.
Perfect for: Quick templates and branded content on-the-go.
Why it rocks: Adobe Express brings Adobe’s design magic into an easy-to-use platform. It’s beginner-friendly and interfaces well with Adobe Creative Cloud for when you’re ready to scale.
Perfect for: Editing and designing video content collaboratively.
Why it rocks: This cloud-based editor merges design with editing. With drag-and-drop simplicity, you can add motion text, subtitles, visual cues, and even remove video backgrounds without downloading anything.
Perfect for: Turning blog or article content into engaging videos.
Why it rocks: Lumen5 uses AI assistance to match relevant video clips and create animation-ready scenes. Great for repurposing written content visually.
Pro Tip: Don’t get bogged down comparing features endlessly. Each of these tools supports video graphics for beginners with minimal learning curve. Choose one, master it, and stick with it until your needs outgrow the platform.
Summary: You don’t need After Effects or a degree in design. Modern tools like Canva and Kapwing offer what you need to start designing stunning video graphics today — fast, simple, and affordable.
Even with the best tools at your fingertips, it’s easy to fall into traps that make your video graphics look unprofessional. Here are the most common beginner mistakes — and how to dodge them.
The problem: A rainbow palette and four different fonts scream ‘inconsistent’ and ‘messy.’
Solution: Limit your design to 2–3 brand colors and 1–2 fonts max. Less is more when you want clean, on-brand visuals.
The problem: Beginners often overuse effects like spinning text, bouncy animations, or exploding icons that distract, not impress.
Solution: Stick with simple transitions — fade in/out or slide effects — and use motion intentionally to add clarity, not chaos.
The problem: Text or elements that run off-screen on mobile or get clipped during playback.
Solution: Use guides or presets to keep key content within the safe frame. Test mobile previews when designing video graphics.
The problem: One video uses blue, another red, one has serif text, another a handwritten font — there’s no brand consistency.
Solution: Create a brand kit early on with specific colors, fonts, and logo placements. Most graphic tools allow you to save and reuse these.
The problem: Pixelated logos and blurry images instantly reduce trust.
Solution: Always use high-resolution images and SVG logos when creating overlays or icons.
Summary: Many mistakes beginners make in video graphics stem from doing too much rather than too little. Focus on clarity, brand consistency, and clean animations to instantly boost your graphics without overwhelming the viewer.
Getting started with video graphics for beginners doesn’t require a design degree. Here’s a clear, step-by-step guide to take your first project from idea to export in less time than you think.
Are you introducing your product? Sharing a tutorial? Creating an ad? Your graphics should support the goal. Map out key visual moments where graphics can help — title screens, bullet points, quotes, or callouts.
Pick one of the beginner-friendly tools mentioned earlier — let’s say Canva for simplicity. Set your video size (16:9 for YouTube, 1:1 for Instagram, etc.) and select a video template or start from scratch.
Highlight key messages with animated text. For example, animate a quote to appear line by line with a fade-in. But avoid overdoing it—one or two clean animations per scene are enough.
Use simple motion graphics icons to explain processes or visualize ideas. Data overlays or percentage bars make numbers easier to understand and more engaging.
Choose background music that fits the tone. Platforms like Canva and Lumen5 have royalty-free tracks built in. Once everything feels aligned, preview, adjust timing, and export in HD (at least 1080p).
Summary: Your first video graphics project doesn’t have to be overwhelming. By taking a structured, step-by-step approach, even complete beginners can create compelling, branded videos that look polished and professional.
Once you’ve built confidence with video graphics for beginners, it’s time to level up — without burning out. Scaling your visual content isn’t about doing more; it’s about doing smarter.
Save your top-performing graphics as templates. Title screens, lower-thirds, product highlights — these can all be repurposed for consistent and efficient content creation. Canva and Kapwing both allow you to create and duplicate branded templates across projects.
Problem: Creating a new video from scratch every week gets exhausting.
Solution: Plan and produce video series in batches. Use your templates to customize videos in bulk. This means filming or editing multiple videos in one session, saving considerable time down the road.
Solopreneurs and small teams can speed things up by collaborating in real-time using cloud-based tools. Assign tasks like script writing, revisions, or compiling graphics asynchronously to move faster without adding complexity.
Track how your audience responds to various graphics — what gets the best views, shares, clicks? Then refine the visual elements based on real data. Tools like TubeBuddy (for YouTube) or social analytics platforms can guide your design decisions.
Invest in Brand Growth Assets:
As your business grows, you may want to level up beyond beginner graphics. Invest in custom animations, intro/outro packs, and high-end plugins once you’ve proven ROI with your basic setup.
Summary: Scaling visual content begins with systematizing your process. Automate where possible, batch content, and refine through analytics. Even if you’re just starting with video graphics for beginners, these strategies prepare you to grow without doubling your workload.
Mastering video graphics for beginners isn’t about being a graphic designer — it’s about making your message shine. From understanding why visuals matter to choosing powerful tools, avoiding rookie mistakes, launching that first project, and scaling with ease, you’ve now got the roadmap to make stunning video content a reality.
Remember: consistency beats complexity. The more you simplify and systematize your process, the more your audience will trust, engage, and convert. Whether you’re building your brand from scratch or amplifying an existing one, graphics are no longer optional — they’re your visual handshake, your credibility booster, and your growth accelerant.
The best time to start creating is now. Let your next video speak louder — and look sharper — than words alone ever could.