Address
304 North Cardinal St.
Dorchester Center, MA 02124
Work Hours
Monday to Friday: 7AM - 7PM
Weekend: 10AM - 5PM
Learn how to convert audio files for YouTube using simple tools and proven strategies that expand your reach, boost visibility, and repurpose your content effectively.
As a solopreneur, freelancer, or startup founder, you’re likely already creating valuable audio content—podcast interviews, course snippets, coaching calls, or even internal knowledge sessions. The problem? Audio alone limits discoverability. YouTube, the world’s second-largest search engine, doesn’t index audio content—but it thrives on video. That’s your missed opportunity.
YouTube hosts over 2.5 billion users each month. Repurposing audio allows you to tap into this sea of video-first users who otherwise would never discover your content. Even if you’re camera-shy or don’t have studio-quality video, simply converting audio files for YouTube—paired with images, animations, or captions—can turn your voice into measurable reach and growth.
Instead of recording new episodes or building new assets, why not reuse what you already have? This extends the life of past content and increases your ROI. Think of each video as a content vending machine: once converted and uploaded, it continuously attracts leads, builds authority, and guides viewers down your sales funnel.
Unlike audio-only platforms, YouTube provides visual storytelling and SEO discoverability. Adding visual context (even static visuals or waveforms) to your audio establishes credibility and lends a professional image. Plus, the comment section opens a two-way dialogue with your audience—crucial for brand loyalty and insights.
Repurposing and converting audio files for YouTube isn’t simply recycling content—it’s about amplifying value, increasing visibility, and optimizing the results of your existing efforts. You already have exceptional material; now it’s time to give it the YouTube treatment and unlock a full channel of possibilities.
When you’re ready to convert audio files for YouTube, the format you choose can directly affect playback quality, editing flexibility, and compatibility with YouTube’s uploader. While YouTube is primarily a video platform, you’ll need to pair your audio with visual elements and package everything in a video-friendly file format.
If you’re starting with raw audio files, aim for one of the following formats:
All these can be converted appropriately before uploading—but they’ll first need a video container.
YouTube recommends uploading in the following video formats after audio is converted and paired with visuals:
Once your audio is inside a video container, conform to these YouTube-friendly specs:
To effectively convert audio files for YouTube, start with standard audio like MP3 or WAV, then export them as MP4 with visuals added. By sticking with YouTube’s supported specs, you’re ensuring smooth uploads, faster processing, and maximum platform compatibility.
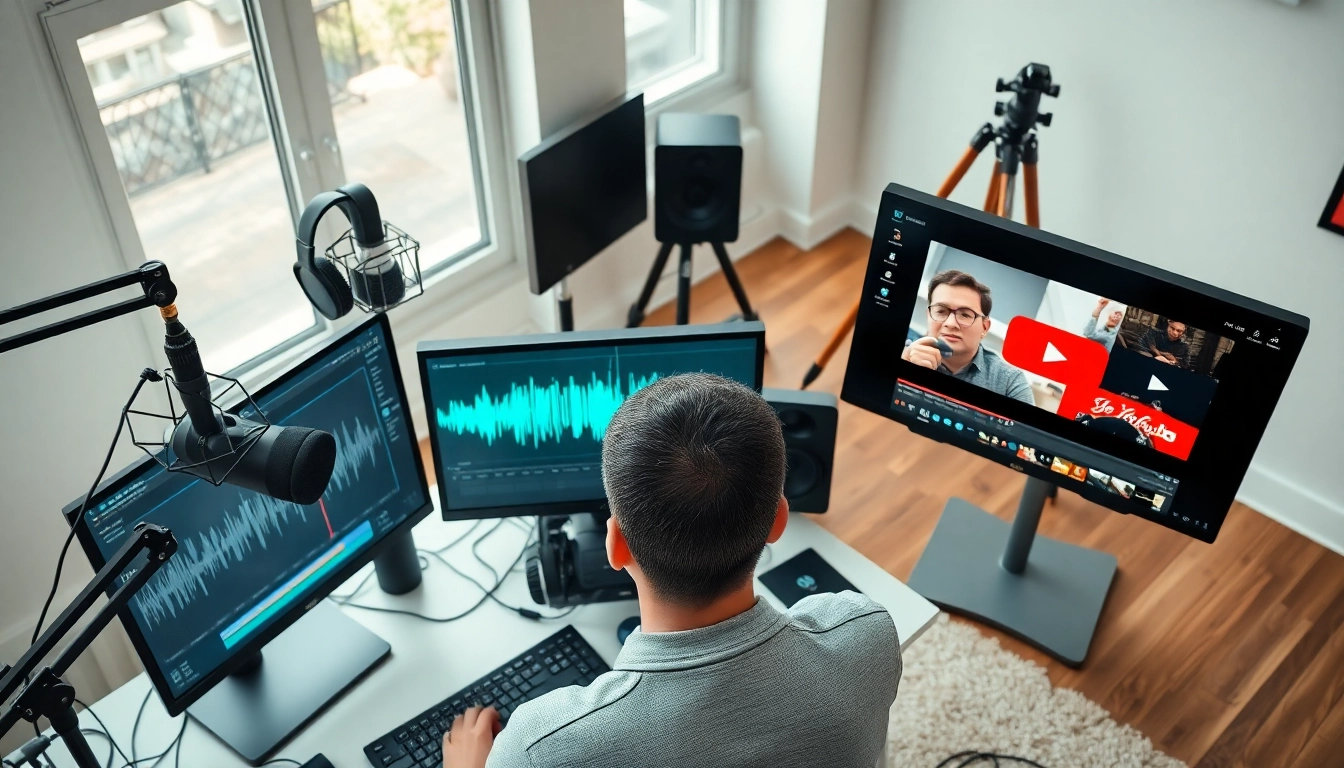
You don’t have to be a video editor or spend hours in software just to convert audio files for YouTube. Today’s SaaS tools make it incredibly easy to turn your audio into ready-to-publish video with visuals, captions, branding, and more—all in your browser.
When selecting the right SaaS platform to convert audio files for YouTube, consider:
Most tools offer generous free tiers, but if your strategy involves regular uploads or longer content, a paid plan (typically $10–$30/month) gives you branding customization, longer export limits, and HD quality.
If you want to convert audio files for YouTube the fast and smart way, lean on SaaS platforms designed to do just that. With tools like Headliner and Descript, you can transform a podcast, voice recording, or webinar clip into a visually engaging video in less than 15 minutes.
You’ve got your audio ready—but where do you start? Converting audio files for YouTube can feel overwhelming unless you follow a simple process. Here’s a beginner-friendly step-by-step method to go from raw audio to ready-to-watch YouTube video.
Start with a clean, quality audio file—MP3, WAV, or M4A formats work best. Ensure background noise is minimal and content is edited (optional: clean it up in tools like Audacity or Descript).
Pick any tool from Section 3 based on your budget and needs (e.g., Headliner for quick audiograms or Canva for branded visuals). Import your audio into the tool.
Once visuals are in place, export your final piece as an MP4 video file—this is the default format for YouTube and ensures smooth upload.
Hit that Publish button and share your video across social platforms, newsletters, and LinkedIn. Bonus tip: Add the video to your website or blog for additional SEO impact.
To convert audio files for YouTube like a pro, you need structure and simplicity. Follow these steps—choose a tool, enhance with visuals, export as MP4, and strategically upload. It’s a repeatable process that delivers consistent growth with minimal new content creation.
Now that you’ve learned to convert audio files for YouTube, the next step is crucial: monetization and optimization. Uploading content is only half the game—the real growth comes from strategic refinement.
If you’re not optimizing correctly, YouTube will bury your videos. Here’s how to gain visibility:
Use YouTube Studio to track:
Based on data, tweak your visuals, audio length, or introduction hooks to drive better results.
Monetizing and optimizing your YouTube content helps ensure that your effort pays off. When you convert audio files for YouTube, you’re not just repackaging—you’re building a scalable channel for leads, income, and influence. Take it seriously, study your analytics, and iterate rapidly.
There’s a quiet revolution happening—where voice meets video and content reaches beyond borders. As you now know, to convert audio files for YouTube is more than a technical step—it’s a strategic move. From choosing the right formats and tools, to following a clear step-by-step process and optimizing for growth, you have everything you need to take advantage of YouTube’s massive potential.
Whether you’re a freelancer, startup founder, or agency leader, leveraging your existing audio content can be one of the most cost-effective ways to scale your presence and passive income. So take that podcast, that voice memo, that webinar—and give it a new stage. Ready to turn every word you’ve spoken into unstoppable visibility? The microphone’s already on. Now, roll the video.