Address
304 North Cardinal St.
Dorchester Center, MA 02124
Work Hours
Monday to Friday: 7AM - 7PM
Weekend: 10AM - 5PM
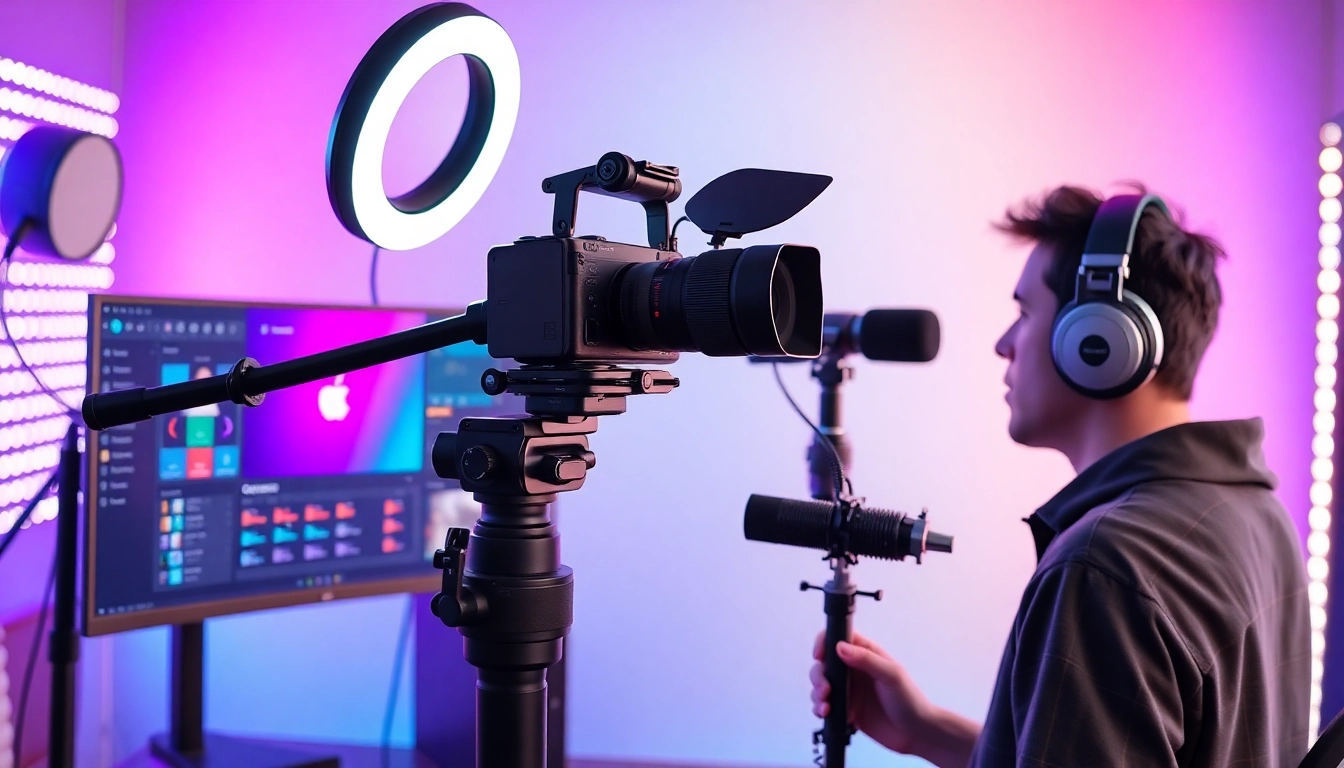
Discover the best camera setup for streaming in 2024 and learn how the right gear and software can dramatically boost your video quality and viewer engagement.
As live streaming becomes a standard marketing and communication tool, expectations for video quality have skyrocketed. Viewers no longer tolerate grainy cameras, poor lighting, or pixelated visuals. Instead, they equate visual quality with professionalism, trust, and credibility—especially when it’s tied to a brand.
Whether you’re running a webinar, streaming a product launch, or hosting a live Q&A, your camera setup for streaming is often the first thing people notice. A high-quality stream implies you’re serious, prepared, and capable. Poor visuals immediately chip away at viewer confidence, regardless of how great your content may be.
A polished video stream sends strong signals: you value production, attention to detail, and respect your viewers’ time. For solopreneurs and businesses alike, this is vital. On the flip side, cheap-looking streams make your brand look less competent and even untrustworthy.
Good visuals aren’t just flattering to look at—they influence how long people stick around. Crisp video quality increases engagement, while poor streams often lead to faster drop-off rates. In sales webinars, investor pitches, or educational livestreams, that retention can directly affect your ROI.
Your camera setup for streaming is a reflection of your brand. Investing in a high-quality, consistent stream isn’t merely a tech upgrade—it’s a strategic move to build trust, credibility, and engagement with your audience.
A top-tier camera setup for streaming is only as good as its hardware. You don’t need a Hollywood studio, but you do need dependable, high-performing gear to avoid lag, blur, and awkward freeze frames.
Built-in webcams are fine for casual Zoom calls—but for streaming, they just won’t cut it. Look for:
Using a DSLR or mirrorless camera? You’ll need a capture card, such as the Elgato Cam Link 4K, to convert your camera output for streaming software.
Lighting is often underestimated, but it matters nearly as much as camera quality. Good lighting reduces visual noise and keeps your image consistently bright.
Stability is underrated. Use a quality tripod to keep your camera angle consistent and prevent shaky footage—a must-have for your camera setup for streaming.
While not part of the camera setup directly, high-quality audio is essential. Pair your visuals with a lavalier mic or USB microphone like the Blue Yeti or Shure MV7.
Each hardware component plays a role in the overall quality of your stream. For a true professional camera setup for streaming, it’s about finding a balance between performance, compatibility, and cost. Get these pieces right, and you’re well on your way to production-level content.
Even with pro-level hardware, your stream will suffer without the right software. Powerful tools not only optimize your camera input but also unlock advanced settings for color correction, resolution control, and scene switching.
OBS Studio (Open Broadcaster Software) remains the #1 free tool to manage your camera setup for streaming. Why?
Use OBS’s built-in filters to fine-tune color saturation, noise suppression, and resolution—making your basic camera look cinema-grade.
For beginners who still want polish, Streamlabs offers OBS functionality with easier navigation. It’s ideal for solopreneurs wanting professional streaming output without a technical learning curve.
Manufacturers like Canon, Sony, or Logitech often offer camera-specific tuning apps:
These tools allow you to adjust exposure, focus, white balance, and frame rate for each streaming session.
Want to use your DSLR as a webcam? Use the OBS Virtual Camera plugin or standalone utilities like Ecamm Live (macOS only) to convert high-res camera feeds into webcam input for Zoom, Teams, or streaming platforms.
Power users may benefit from tools like XSplit Broadcaster or vMix, which offer advanced transitions, chroma keying (green screen), and multi-camera support.
Hardware may shape your image, but software defines how it’s presented. With the right app choices, your camera setup for streaming can go from simply good to visually unforgettable.
Not every business has thousands to spend on professional video streams—but that doesn’t mean you can’t level up your camera setup for streaming. Here’s how to balance budget and quality.
Perfect for freelancers, new content creators, or small agencies just starting out.
Pros: Affordable, plug-and-play convenience, good enough for decent-quality streams.
Cons: Limited flexibility and image depth.
Great for solopreneurs, consultants, or bootstrapped startups aiming for a polished look.
Offers more cinematic depth, warm framing, and a professional appearance—without the Hollywood price tag.
Ideal for digital brands, agencies, or C-level executives expecting studio-quality visuals.
Professional-grade with maximum customization and stunning results.
Regardless of budget, there’s an effective camera setup for streaming that fits your needs. Start where you can, and upgrade strategically—your audience will notice the difference, and your content ROI will reflect it.
Even with great tech and software, streaming can go south if you overlook basic performance rules. Here are the key expert tips to make sure your camera setup for streaming delivers every time.
Hardwire your connection. Wi-Fi is convenient but unstable. Use an Ethernet cable to ensure smooth, consistent streams—especially important at high resolutions like 1080p or 4K.
Configure your camera and streaming software to match bandwidth constraints. Generally, stream at:
Adjust bitrate accordingly: 4500–6000 Kbps for 1080p is ideal.
Auto-settings are inconsistent. Locking these features ensures visual stability during lighting or movement changes—key for maintaining a professional look.
Test every element of your camera setup for streaming—camera, mic, lighting, internet, and software. Always perform a 10-minute dummy stream before going live.
DSLRs may overheat or shut off during long streams. Use dummy batteries or cooling rigs to avoid sudden blackouts.
A cluttered background distracts your viewers. Opt for a clean, non-reflective setup—or go for virtual backgrounds via green screen or blur effects for added specs.
Streaming platforms compress quality. Always record locally using OBS or similar tools for later edits and higher-resolution backups.
Quality streaming doesn’t just come from equipment—it’s also about good practices. Following these tips ensures your camera setup for streaming performs like a pro every time, boosting reputation and stream success.
In 2024, standing out online means looking and sounding exceptional—and your camera setup for streaming is central to that goal. By investing in the right hardware, leveraging top-tier software, aligning your setup with budget or premium needs, and applying consistent pro-level strategies, you transform every stream into a branded experience. Whether you’re consulting, pitching, selling, or educating, how you appear on screen speaks louder than you think.
The tools are now accessible, scalable, and packed with potential. The question isn’t whether you can afford a professional camera setup for streaming—it’s whether you can risk not having one. It’s time to elevate your stream, wow your viewers, and own the virtual stage like the pro you are.