Address
304 North Cardinal St.
Dorchester Center, MA 02124
Work Hours
Monday to Friday: 7AM - 7PM
Weekend: 10AM - 5PM
Discover actionable audio engineering tips and tricks designed to boost your production quality and workflow efficiency—ideal for solopreneurs and small teams.
You’re not alone if you’ve wrestled with background noise, mic pops, or inconsistent levels. Clean audio capture is the bedrock of all great recordings—without it, even the best plugins and post-production can’t fully save your track.
Your microphone can’t tell the difference between your voice and an air conditioner. That’s why recording in a quiet, controlled space is essential. Use acoustic treatment like foam panels, heavy curtains, or even closets filled with clothes to absorb unwanted reflections.
Different mics serve different purposes. Use a condenser mic for vocals and detailed instruments in studio settings, and a dynamic mic for louder sources like drums or live environments. Always point your mic’s pickup pattern (cardioid, omnidirectional, etc.) appropriately to reduce ambient noise.
Too much gain introduces distortion, while too little makes your signal weak. Set your levels so peak volume stays around -12 dB to -6 dB. This gives you headroom for mixing and avoids clipping.
A pop filter diffuses plosive sounds (like “p” and “b”) and a shock mount reduces table or stand vibrations—small gear choices that dramatically boost clarity.
Start strong with pristine audio, and the rest of your workflow becomes much easier. Clean capture is the first (and arguably most important) step in any list of audio engineering tips and tricks.
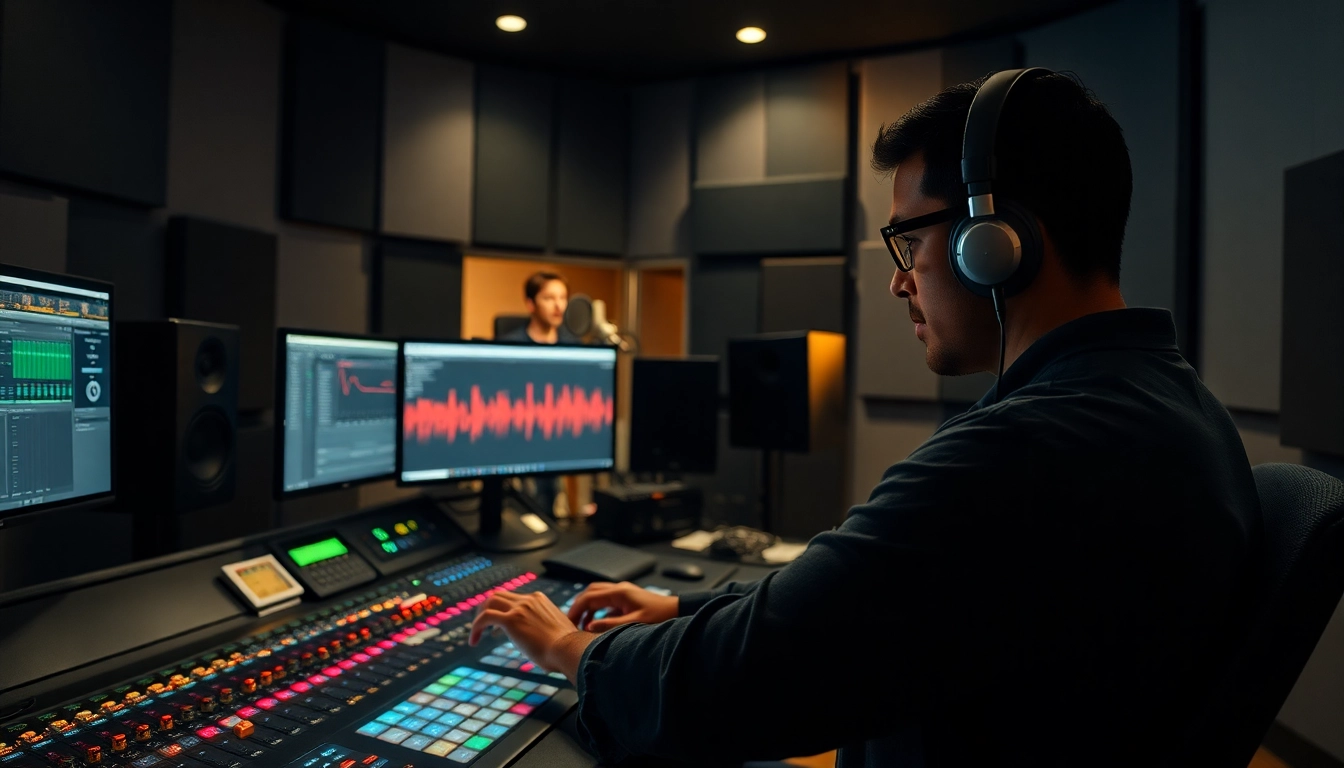
Even with incredible tools at your disposal, a messy and inefficient digital audio workstation (DAW) setup can stall your creativity dead in its tracks. If things feel clunky when navigating your DAW, you’re not alone—and the good news is, it’s totally fixable.
One of the biggest workflow hacks is creating a reusable session template with your preferred track layout, FX chains, buses, and routing already set. This saves you from reinventing the wheel with every project.
Memorizing a handful of powerful shortcuts (like mute, solo, duplicate, bounce, grid zoom) can drastically speed up your session work. Most DAWs let you customize hotkeys too—build your arsenal!
Don’t underestimate how a well-organized session reduces mental fatigue. Name tracks clearly (“Snare Top,” “Lead Vox”), group by type, and apply color coding to visually separate instruments and effects buses.
DAWs like Logic Pro, Ableton Live, and Reaper offer **macros and action lists** that execute multiple tasks with one button. Example: “Add reverb send & adjust pan” in one click.
Efficiency in your DAW isn’t just about speed—it’s about freeing your mind for creativity. These types of workflow improvements are essential audio engineering tips and tricks for solopreneurs looking to scale their production game.
So, you’ve captured clean audio and set up an efficient session—now it’s time to shape your sound. Equalization (EQ) and compression are where the magic starts to happen. Yet many struggle with muddy mixes and lifeless dynamics. Here’s how to fix that.
EQ is like frequency sculpture: you’re not just adding or removing tones; you’re shaping sonic identity. Use a subtractive EQ approach first: remove what you don’t need before boosting anything.
Compression evens out volume inconsistencies, but too much kills dynamics. Understand these settings:
Use parallel compression (a compressed track blended with the original) to retain dynamics while adding consistency.
Mastering EQ and compression takes practice, but it’s worth every bit of effort. These two tools are the foundation of all great audio engineering tips and tricks.
You’ve got clean audio and processed tracks—but your mix still sounds flat and crowded? That’s a common issue. Pro-level mixes are all about space, clarity, and depth. Here’s how to generate that three-dimensional sound that captivates listeners.
The most overlooked step is also the most important—get your faders right. Mix at low volume and balance every track so the core elements (kick, snare, vocals) are front and center, with support layers behind.
Don’t keep everything down the middle. Panning widens your stereo field and avoids frequency buildup. Try this:
Depth means creating a front-to-back sensation. Use shorter reverbs or delays for closer sounds, and longer tails for distant elements. Be careful—reverb can easily swamp a mix, so always tailor decay time and damping.
Mixes should move and breathe. Use volume, pan, and FX automation to evolve your mix across a timeline, even subtly. This keeps listeners engaged.
Few audio engineering tips and tricks are more transformative than mixing for dimension and space. These techniques separate amateur tracks from professional projects instantly.
You’ve mixed your masterpiece. But all that effort can go to waste if you fumble the export process. The final render is what your audience hears—so it must be optimized for delivery.
Don’t just default to MP3. Choose based on usage:
Keep your master levels around -0.3 dB to avoid inter-sample clipping—especially relevant if you’re sending to Spotify, Apple Music, or YouTube. These platforms apply their own loudness normalization (typically around -14 LUFS).
Test your final bounce across multiple systems: headphones, studio monitors, car speakers, and phones. If it sounds great everywhere, you’re golden.
In MP3s especially, adding metadata like song title, producer name, genre, and artwork enhances professionalism and playback integrity across players.
These final polish steps are often missed, but essential. For anyone mastering audio engineering tips and tricks, your track’s export is the bow on the package—make sure it’s tight and beautiful.
Professional-sounding audio isn’t reserved for those with the biggest studios or the most expensive gear—it’s won or lost in the details. Whether you’re a solopreneur launching a podcast, a freelancer mixing client tracks, or a startup founder recording product videos, the power of these audio engineering tips and tricks is within your grasp.
From capturing clean recordings, organizing your DAW like a pro, mastering EQ and compression, to balancing mixes with depth and exporting with care, every stage adds to a polished final product your audience can trust and love.
Audio is the voice of your brand and content. Make it striking. Make it clean. Make it unforgettable. The next time you press record, know you’re equipped to create with confidence, clarity, and professionalism. The only limit is how far you’re willing to listen—and learn.