Address
304 North Cardinal St.
Dorchester Center, MA 02124
Work Hours
Monday to Friday: 7AM - 7PM
Weekend: 10AM - 5PM
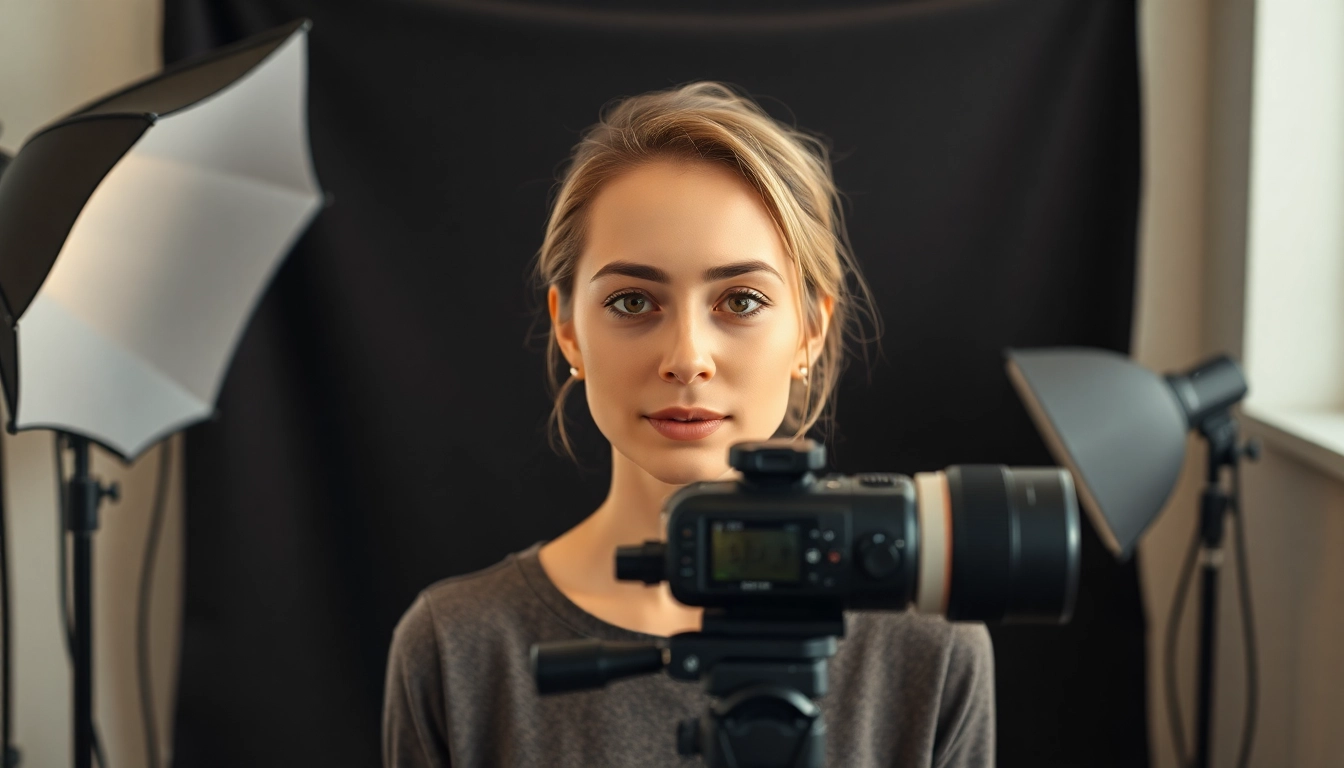
Discover the ultimate lighting setup for portrait photography to elevate every shot. Learn how pros create stunning portraits using smart lighting strategies and tools.
Think about the most powerful portrait you remember. Was it bright and uplifting? Or shadowy and mysterious? The emotional tone of any portrait is primarily dictated by light. This is why understanding a reliable lighting setup for portrait photography isn’t optional—it’s essential.
A common frustration for beginners is capturing a technically correct image that still looks flat or lifeless. That’s because even the best camera will fail to convey dimension, mood, or expression if the light isn’t intentional. Poor lighting can distort skin tones, create unflattering shadows, blur details—and ultimately, water down your subject’s presence.
Many beginners rely on ambient or available light, assuming it’s good enough. But professionals know that controlling light is like directing an actor—it shapes the story. Whether you’re shooting a corporate headshot or an expressive art portrait, your lighting setup should align with your creative intention.
The light you use isn’t just technical—it’s storytelling. The sooner you treat light as your creative partner rather than a passive condition, the faster your portraits will evolve from good to unforgettable. Mastering the right lighting setup for portrait photography is the key to unlocking that creative control.
This setup is named after the painter who mastered dramatic shadows and highlights. Place your main light at 45 degrees from the subject and slightly above eye level. The signature sign of Rembrandt lighting is a triangle of light on the cheek opposite the light source.
Popular with fashion and glamour photography, this places the key light directly in front and above the subject, casting a butterfly-shaped shadow under the nose. It flatters cheekbones and minimizes wrinkles.
This is a go-to lighting setup for portrait photography because it’s easy to set up and flattering on most faces. The key light is slightly off-center and higher than eye level, producing a small shadow of the nose on the cheek.
If you’ve ever felt overwhelmed by lighting options, start here. These three setups—Rembrandt, Butterfly, and Loop—are timeless for a reason. They serve as the foundational vocabulary of portrait lighting. Mastering each one gives you a solid toolkit to adapt and experiment while maintaining control over mood and structure.
You don’t need to spend thousands on high-end gear. Quality portraits are more about control than cost. That said, investing wisely in the essentials that shape your lighting setup for portrait photography will save hours of editing frustration later.
Are you shooting professional headshots? You’ll want crisp, controlled light like strobes with softboxes. Is it a dreamy lifestyle shoot? Then continuous lights with ambient fill might fit better. Always reverse engineer your gear list based on your style and subject rather than blindly following trends.
There is no one-size-fits-all lighting kit, but there is such a thing as too much gear with no strategy. Focus on building a kit that serves your vision and scales with your proficiency. As you grow into your unique approach to portraiture, your understanding of equipment will evolve—and so will your results, especially when aiming for the perfect lighting setup for portrait photography.
Natural light is free and glorious but uncontrollable. Studio light is consistent but requires gear. To master your lighting setup for portrait photography, you must know when to embrace nature and when to manufacture perfection.
Some of the best portrait photographers combine a natural light base with a dash of artificial fill light. A portable LED panel or a bounce card can rescue flat natural-light scenarios without overwhelming the shot’s authenticity.
Your toolkit isn’t just what’s in your backpack—it’s what’s in the sky and the room. Learning to adapt and optimize both natural and studio light will make you an agile, responsive portrait artist. Flexibility is the secret ingredient in achieving a flawless lighting setup for portrait photography.
The problem: Harsh lighting causes blown highlights and sharp, unattractive shadows. Flat lighting makes portraits look lifeless. Both can ruin an otherwise great image.
The solution: Use diffusers or bounce light to soften harsh sources. For flat lighting, try adjusting angles or using a fill light with varied intensity to restore dimension.
The problem: Eyes without visible light reflections (catchlights) look dull and unengaged. This is a small detail that has huge emotional impact.
The solution: Aim your key light slightly off-center to reflect in the subject’s pupils. Alternatively, use a ring light or reflector to enhance eye sparkle.
The problem: Lighting from the wrong direction can accentuate unflattering features or misrepresent bone structure.
The solution: Choose lighting based on the subject’s features. For example, broad lighting suits narrow faces, while short lighting slims wider faces.
The problem: Mixed lighting (e.g., daylight and incandescent) can result in unnatural skin tones that are hard to edit later.
The solution: Either use matching-temperature bulbs or gel filters to balance mixed sources. Always do a custom white balance before the shoot.
Even small missteps in lighting can undermine the entire photo. The good news? Every mistake is a learning milestone. Pay attention to the pitfalls outlined here and you’ll feel vastly more in control of your lighting setup for portrait photography. Practice, review, adjust—and repeat.
Portrait photography is more than pointing your camera and hoping for magic—it’s about intentionally crafting an image with light as your brush. From understanding its emotional power to mastering professional lighting setups, the journey to finding the perfect lighting setup for portrait photography is one of exploration and experimentation. Remember, the right tools matter, but it’s how you use and adapt them, whether working with sunbeams or strobes, that brings portraits to life.
Now that you know what to use, how to use it, and what to avoid, the next portrait you take could be the beginning of a whole new level in your photography journey. Because when you control the light—you control the story.