Address
304 North Cardinal St.
Dorchester Center, MA 02124
Work Hours
Monday to Friday: 7AM - 7PM
Weekend: 10AM - 5PM
Discover how to create a professional lighting setup for video recording that elevates your content quality and engages your audience effortlessly.
When you’re recording video content—be it webinars, tutorials, or brand stories—your audience is not just listening; they’re watching. A poor lighting setup for video recording can make even high-quality cameras look dull, grainy, or unprofessional. Yet lighting is often overlooked by entrepreneurs and small teams eager to publish content quickly.
If you’ve felt frustrated after recording what you thought was a stellar video, only to discover you look washed out or your background is lost in shadow, you’re not alone. Many creators pour time into scripting and gear but underestimate lighting.
These issues can lead viewers to subconsciously judge your video—and by extension, your brand—as less trustworthy.
Improving your lighting setup for video recording immediately elevates your visual quality, even if you’re using a basic webcam. Proper lighting brings clarity to your facial expressions, adds depth to your frame, and builds viewer trust. It tells your audience, “I care about quality. I care about you.”
Lighting isn’t a luxury—it’s foundational. Before investing in fancier cameras or editing software, get your lighting right. It matters more than you think, and the good news is: it’s totally fixable with the right strategies.
No matter your financial situation, there’s a lighting setup for video recording that will make your content shine—literally. Whether you’re bootstrapping your startup or scaling a media team, let’s look at tiered options to fit every wallet.
You don’t need a studio to create professional-looking videos. By aligning your lighting setup for video recording with your budget, you can make smarter decisions that lead to higher production value. Small investment, big visual return.
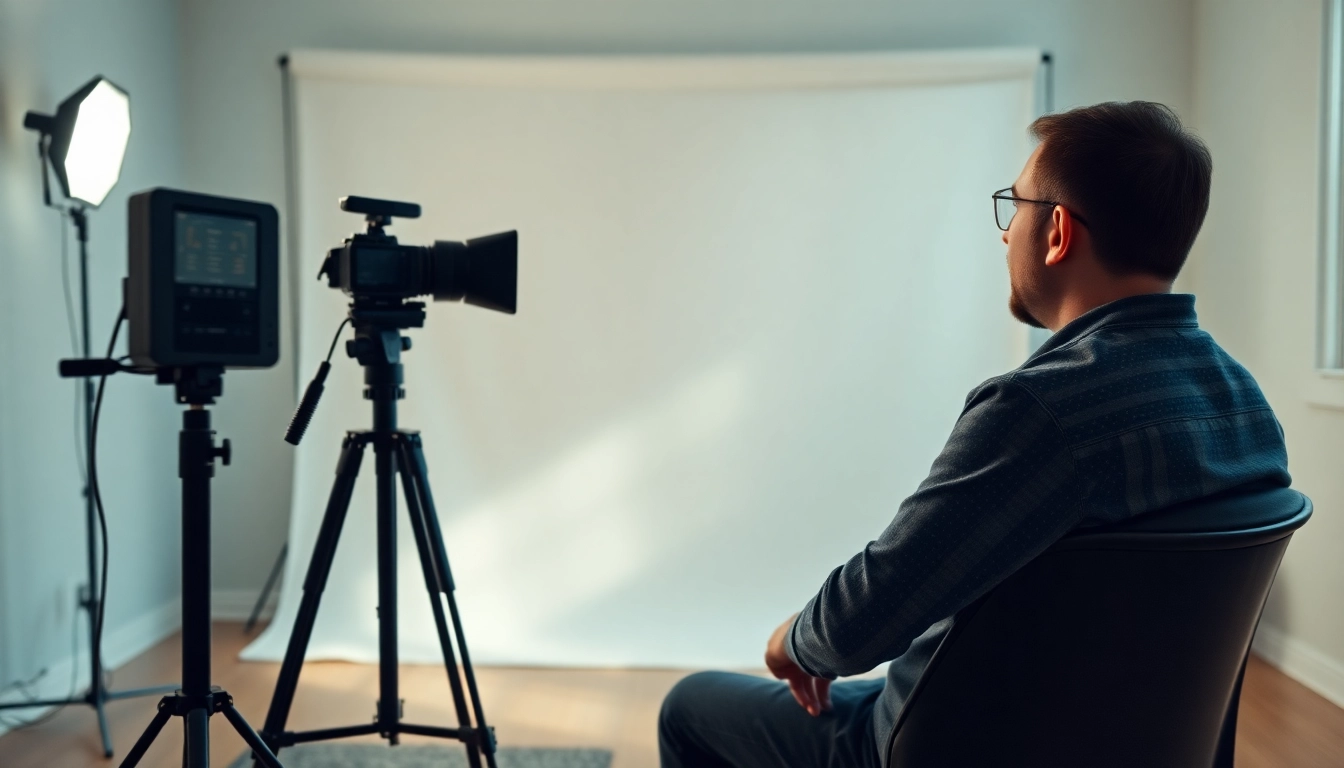
You’ve got the gear—but how you use it makes all the difference. The right positioning transforms basic equipment into professional-quality visuals. Here’s how to nail your lighting setup for video recording like a seasoned cinematographer.
This widely used setup consists of:
A great lighting setup for video recording comes down to placement as much as hardware. Intentionally placing your lights gives your video depth, clarity, and professionalism that grabs your viewer and holds attention.
It’s one of the most common debates when setting up your lighting setup for video recording: Should you rely on natural light, or is artificial light the better choice? Let’s shed light—pun intended—on the pros and cons of each so you can choose wisely based on your environment and goals.
Pros:
Cons:
Pros:
Cons:
Combining the two can yield excellent results. For example, use natural light as your key light and supplement with an artificial fill or backlight. This gives you softness and dimension without technical overwhelm.
There’s no one-size-fits-all answer. Instead, tailor your lighting setup for video recording based on your physical space, available time, and budget. Whichever you choose, consistency is key to keeping your video quality high and your brand image polished.
Even with the best lighting setup for video recording, simple mistakes can undermine your entire production. The good news? Most are easy to fix if you know what to look for.
The Problem: Washed-out facial features or glowing white spots.
Quick Fix: Reduce light intensity, move lights further away, or adjust your camera’s exposure setting if applicable. Add a diffuser between the light and subject for softer output.
The Problem: Distracting or unflattering shadows, especially under the eyes, nose, or chin.
Quick Fix: Raise the key light slightly and add a subtle fill light. If using only one light, bounce it off a wall or reflector to soften and widen the beam.
The Problem: Odd color cast (e.g., bluish on one side, orange on the other).
Quick Fix: Stick to one type of bulb—either daylight (~5600K) or warm (~3200K). If you must mix, use gels or white balance your camera to harmonize.
The Problem: Unstable brightness that ruins footage.
Quick Fix: Avoid fluorescent lights or cheap LED bulbs with low-quality drivers. Always test your setup before recording full segments.
The Problem: Flat or distracting backdrops that ruin depth.
Quick Fix: Add a small backlight or accent light. A lamp with a lampshade or RGB LED strip can help separate your figure from the background nicely.
A polished lighting setup for video recording doesn’t mean perfect all the time. It means knowing how to quickly recognize and remedy issues. These fixes ensure consistent, high-quality content that builds trust with every viewer.
Your camera doesn’t tell the whole visual story—your lighting does. Mastering your lighting setup for video recording isn’t just about aesthetics; it communicates professionalism, clarity, and care. From understanding why lighting matters to choosing tools that fit your budget, positioning like a pro, balancing natural vs. artificial sources, and correcting common mistakes, you now have a practical toolkit to elevate every video you make.
Remember: Professional results aren’t about having expensive gear—they’re about using what you have intentionally. So the next time you hit record, let your light lead the way. Because when you get your lighting right, everything else gets brighter too.