Address
304 North Cardinal St.
Dorchester Center, MA 02124
Work Hours
Monday to Friday: 7AM - 7PM
Weekend: 10AM - 5PM
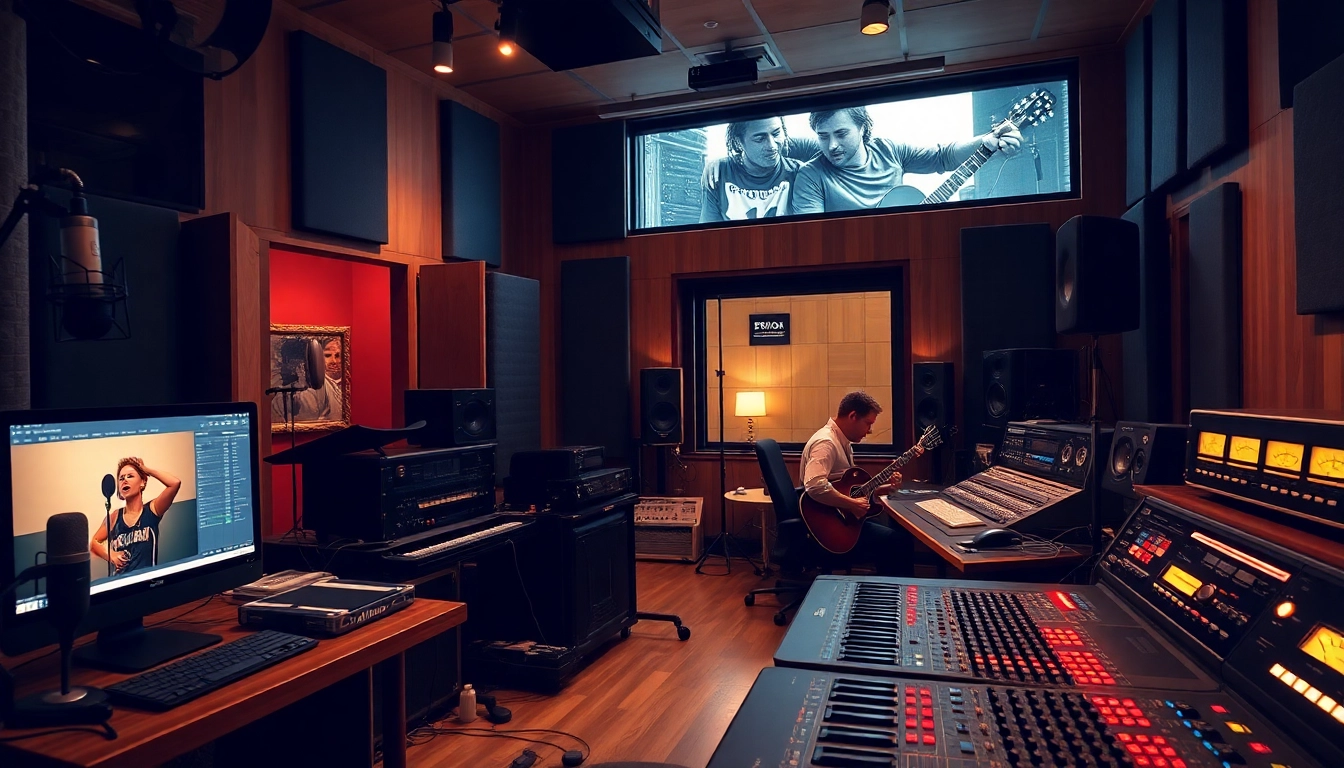
Unlock the secrets behind top-tier production with expert sound recording techniques for music using the latest SaaS tools and strategies designed for modern creators.
Before you hit the record button, there’s one often-overlooked element that can make or break your music: your recording environment. Many solopreneurs and creators assume that gear alone can compensate for a bad room. Unfortunately, even the best microphone can’t fix poor acoustics.
If your audio sounds muddy, hollow, or overly bright, chances are your space is part of the problem. Walls causing reverb, floors reflecting sound, and ceiling bounce are all silent saboteurs. Without addressing them, your finished tracks may lack clarity and punch.
Here are practical ways to improve your recording space:
Your environment should work with you — not against you. For clearer, more professional results, always start by shaping your room’s acoustics. This is one of the most overlooked but essential sound recording techniques for music. Tune your room, and you’ll instantly hear the difference.
All microphones are not created equal — and choosing the wrong one could be why your vocals sound distant or instruments lack punch. The right gear transforms well-prepped spaces into stunning soundscapes.
It’s tempting to grab a budget USB mic and call it a day. But soon, you realize your recordings sound flat or overly processed. Choosing the wrong type of microphone or interface can ruin an otherwise great performance.
Here’s a breakdown to help navigate your gear decisions:
If you’re on a budget, invest where it matters — a decent condenser mic and a solid audio interface. Record clean today and polish your sound tomorrow with editing tools covered later.
The best sound recording techniques for music always start with the right tools. Your gear must match your space and your goals. Choose intentionally, and your production quality will scale with you.
Multi-track layering is the secret ingredient behind rich, powerful music. Yet for many creators, layering causes headaches instead of harmony. Done wrong, it causes clutter. Done right, it creates magic.
You record guitar, bass, and vocals. Then double vocals. Then add harmonies. Suddenly it’s a mess of sounds fighting for space. This is where most beginner producers get stuck. And why understanding layering is one of the top sound recording techniques for music.
Here’s how to structure your multi-track layers for clarity and power:
This easy visual cue helps keep your project tidy, especially as your track count grows. Chaos in your DAW leads to chaos in your mix.
Think like a painter — every track is a brushstroke. Thoughtful layering is one of the sound recording techniques for music that separates hobbyists from professionals. Use space, texture, and rhythm like ingredients in a balanced mix.
Editing can elevate an okay recording into an incredible one. Yet most beginners underestimate the power of post-production. Fortunately, today’s SaaS-based sound editing platforms make professional-grade editing accessible to everyone — no studio required.
If you’ve ever opened a DAW only to be overwhelmed by 50 buttons and zero clarity, you’re not alone. Solopreneurs and small teams don’t have time for steep learning curves. They need intuitive, powerful tools that just work.
Here are proven SaaS platforms that help you polish recordings fast:
These tools are cloud-based, low-cost, and integrate easily with collaboration platforms. Whether you work alone or with remote musicians, SaaS simplifies your editing pipeline without compromising quality.
Sound editing is no longer reserved for elite studios. Thanks to SaaS, anyone can now apply professional-level sound recording techniques for music from a browser. Focus on the art — the software handles the science.
Your masterpiece is complete — but are you sabotaging it by exporting the wrong file type? Let’s not waste all those brilliant sound recording techniques for music by failing in the final lap.
Ever upload a great track only to hear it sound quieter or duller on streaming platforms? That’s typically because of improper file mastering or format export. Distribution is not just about sending the file — it’s about preparing it for where it’s going.
Use these distribution-ready steps to protect your sound:
Platforms like CD Baby, TuneCore, and Amuse distribute your song to dozens of platforms, handling pricing, rights, and quality checks.
Optimizing your final exports ensures your hard work using top sound recording techniques for music pays off everywhere it’s heard. Smart delivery equals consistent impact — and your audience will hear the difference.
You’ve now explored the top sound recording techniques for music, from acoustics to distribution. We began with the foundation — your recording environment — and moved step-by-step through equipment selection, track layering, SaaS-powered editing, and finally, professional delivery for the world to hear.
Remember, even solo creators and small teams can achieve professional results with the right techniques and tools. Whether you’re producing music for clients, uploading tracks to Spotify, or building your personal brand, these techniques level the playing field.
Ultimately, great recordings aren’t just captured — they’re built. Every decision shapes the final outcome. Now that you understand what it takes, your next track doesn’t just have potential — it has purpose.
So don’t wait. Apply one technique from this guide today — and start shaping the sound that sets your brand or music apart tomorrow.